Replacing NOx and Pressure Sensors on Volvo: Fault Symptoms and Step-by-Step Instructions
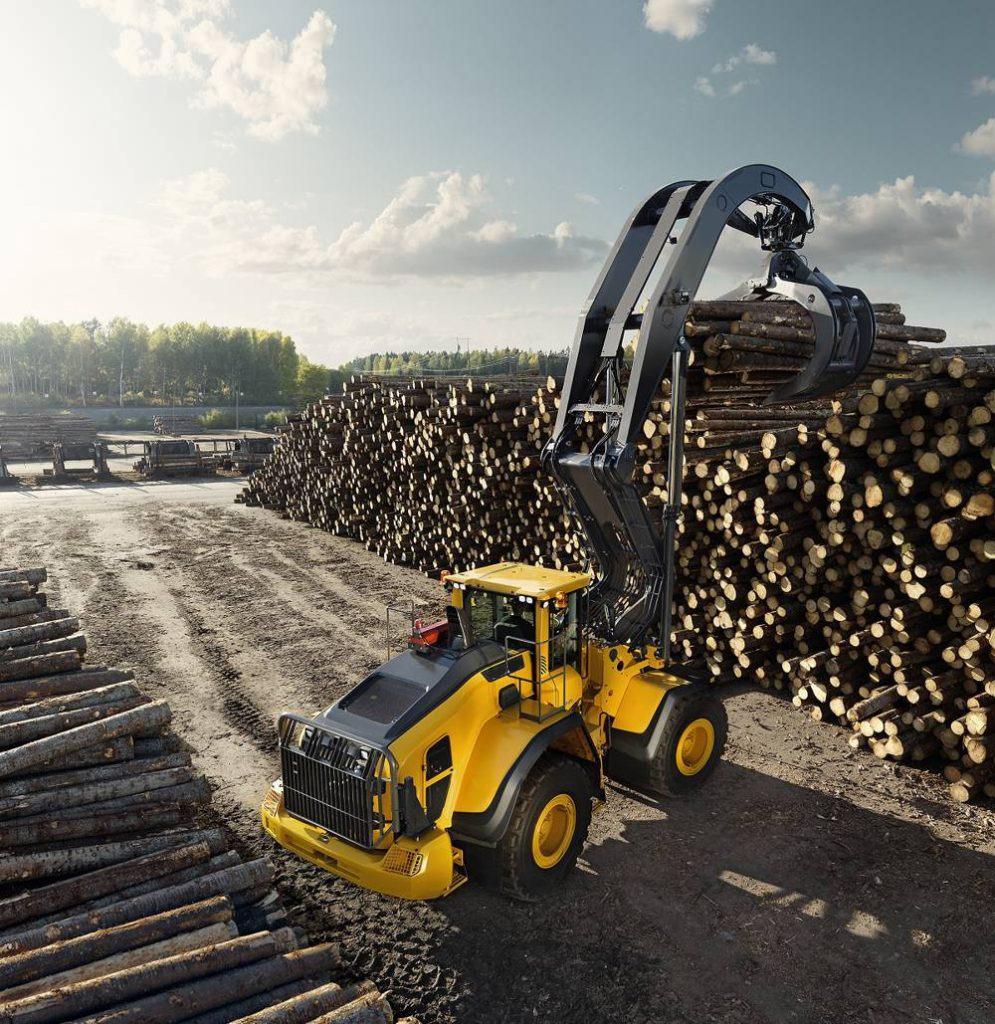
Modern Volvo trucks and heavy equipment (FH, FM, VNL, construction machines EC / L / A-series) are equipped with complex emissions control systems. In these systems, a fundamental role is played by the NOx sensors and exhaust pressure sensors, which help to ensure that the SCR, DPF, and EGR systems function properly. These components help meet Euro 5/6 and EPA standards, while optimizing fuel consumption and engine performance. Nonetheless, these parts can fail over time, leading to fault codes, power loss, and more fuel burned.
In this article, we’ll cover:
the main symptoms of faulty NOx and pressure sensors on Volvo;
the common reasons for sensor failure;
a step-by-step replacement guide;
practical tips for diagnostics and operation.
What Are NOx and Pressure Sensors in Volvo Systems?
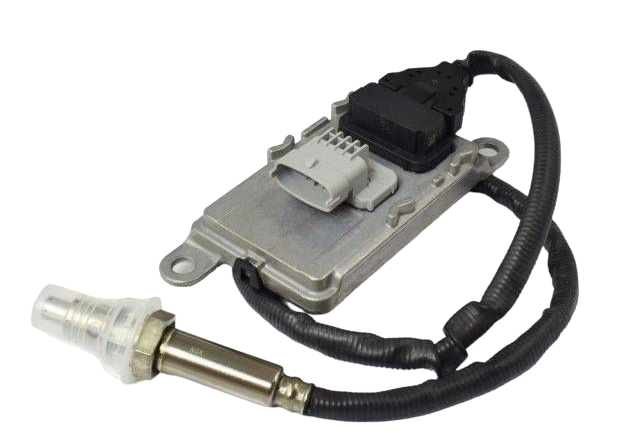
NOx Sensor
The NOx sensor measures nitrogen oxide levels in the exhaust gases before and after the SCR catalyst. Based on its readings, the control unit adjusts DEF / AdBlue injection.
Typically, the system uses two NOx sensors:
upstream (before SCR);
downstream (after SCR).
Exhaust Pressure Sensor
The pressure sensor monitors pressure differences in the exhaust system, most commonly:
before and after the DPF;
in the EGR line;
in the turbocharger system.
Using this data, the ECU determines DPF soot loading and whether the regeneration process is operating correctly.
Symptoms of a Faulty NOx Sensor on Volvo
The NOx sensor detects the amount of nitrogen oxides in the exhaust and communicates with the SCR (AdBlue) system. On Volvo FH/FM trucks, two sensors are commonly used: inlet and outlet.
Common failure symptoms:
Check Engine light or AdBlue warning lamp turns on.
Diagnostic trouble codes such as P229F, P2200, P20EE, SPN 520373, PPID270, or similar NOx-related codes.
Engine derate mode, limited RPM, or speed restriction.
Increased fuel and AdBlue consumption.
DPF regeneration issues.
Dashboard messages like “NOx sensor fault” or “AdBlue system malfunction.”
Some causes of concern may be wiring damage, catalyze wear, overheating, moisture in the exhaust, or soot contamination. On Volvo FH models, NOx-related faults often appear after 400,000–500,000 km (250,000–310,000 miles).
Symptoms of a Faulty Boost Pressure Sensor
The boost pressure sensor (MAP sensor) monitors intake manifold pressure and directly affects turbocharger operation.
Symptoms on Volvo trucks and construction equipment:
Loss of power, especially under load or uphill.
Low turbo boost (boost gauge does not rise above 1/4).
Fault codes such as ECM-125C, ECU 481 (low boost pressure), or overboost/underboost codes.
Increased fuel consumption.
Smoke comes from the exhaust or the engine RPMs are not stable.
Check Engine light with a “Boost pressure fault” message.
Common causes include intercooler leaks, clogged air intake, damaged wiring, or sensor failure.
Reasons for Sensor Failure
Main contributing factors:
high exhaust temperatures;
condensation and moisture;
poor-quality fuel or AdBlue;
mechanical damage to wiring;
natural wear and tear (average service life: 150,000–250,000 km).
Important: the fault may not always be the sensor itself — wiring, connectors, or the control unit can also be the root cause.
NOx Sensor Replacement Instructions for Volvo
1. Diagnostics
Before replacement, always:
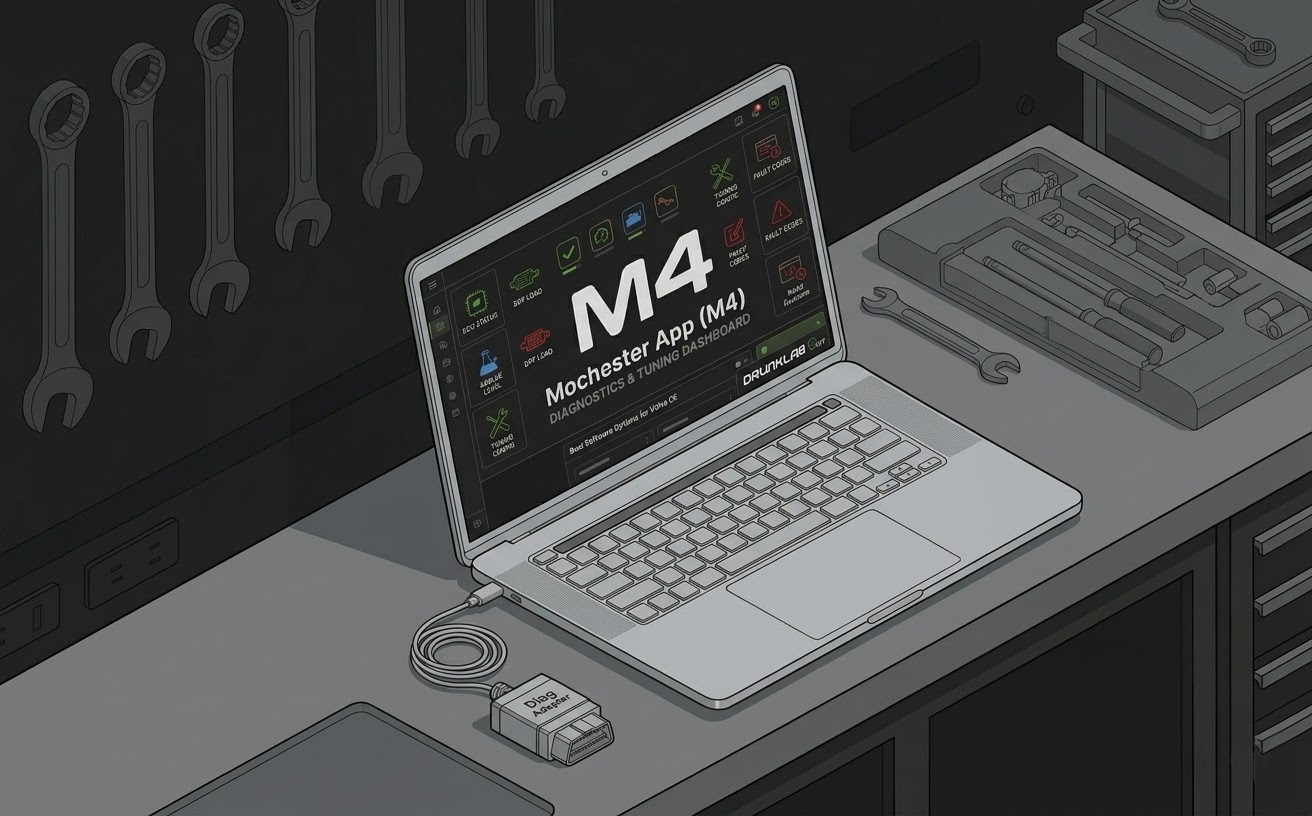
use a diagnostic adapter, read fault codes with a diagnostic scanner (Volvo PTT, Jaltest, Autel, etc.) or a software solution like the Mochester App;
inspect wiring and connectors;
confirm that the issue is not related to the DPF or SCR system.
2. Preparation
You will need:
a new OEM or high-quality aftermarket sensor;
a special split wrench for NOx sensors;
penetrating oil;
a diagnostic scanner.
Make sure the exhaust system has fully cooled off before you begin working.
3. Removing the Old Sensor
Disconnect the battery.
Unplug the electrical connector.
With caution detach the sensor from the threaded port.
Inspect the threads and mounting surface.
4. Installing the New Sensor
To prevent cross threading, hand tighten the sensor during installation.
Tighten to the recommended torque (typically 40–50 Nm).
Reconnect the connector and secure the wiring.
5. Calibration and Fault Reset
After installation:
clear fault codes;
perform NOx sensor initialization (on certain models);
complete a test drive cycle to allow system adaptation.
Without this procedure, the system may continue to operate incorrectly.
Boost Pressure Sensor Replacement Instructions
Depending on the model, the boost pressure sensor is typically found by the intercooler or intake manifold.
Removal and Installation:
Disconnect the electrical connector.
Take out the fasteners (typically 2 bolts or retaining clips).
Install the new sensor and reconnect it.
Clear fault codes and verify boost pressure during a road test.
Tip: after replacement, drive 50–100 km (30–60 miles) to allow ECU adaptation.
Helpful Tips
Use only proven sensors — cheap alternatives often fail after 10,000–20,000 km.
Always do a proper diagnosis before replacing a sensor as the problem could be something different.
Keep an eye on the DPF and SCR systems, as failures diminish the lifespan of the sensors.
Regularly inspect wiring in high-temperature areas.
Conclusion
Replacing NOx and pressure sensors on Volvo vehicles is a critical procedure for stable engine operation and proper emissions control. Timely diagnostics, replacement, and correct installation of NOx and boost pressure sensors help prevent derate modes, unnecessary fuel costs, emissions-related fines, and expensive SCR or DPF repairs.
Regular maintenance — including system cleaning and the use of high-quality fuel and AdBlue — will significantly extend sensor life.
If you are not confident in performing the work yourself, it’s best to seek diagnostics and replacement from a specialized service center. Persistent emissions system faults are the serious reason for inspection, as a single faulty sensor can trigger a chain failure throughout the entire system.