Volvo D13 Engine Truck DPF Service and Replacement: Step-by-Step Guide
In this article, we’ll give you a detailed, step-by-step guide on how to remove or delete the diesel particulate filter (DPF) from a Volvo truck - whether for servicing, cleaning, or replacing it with a new one.
There is a couple of instruments You can use to execute this procedure:
jack
hammer
screwdriver
allen
socket
pry bar of chisel
wrench
wire cutter
DPF Delete Step by Step Guide
Remove the trucks right-side fairing pannel. (See Figure 1)
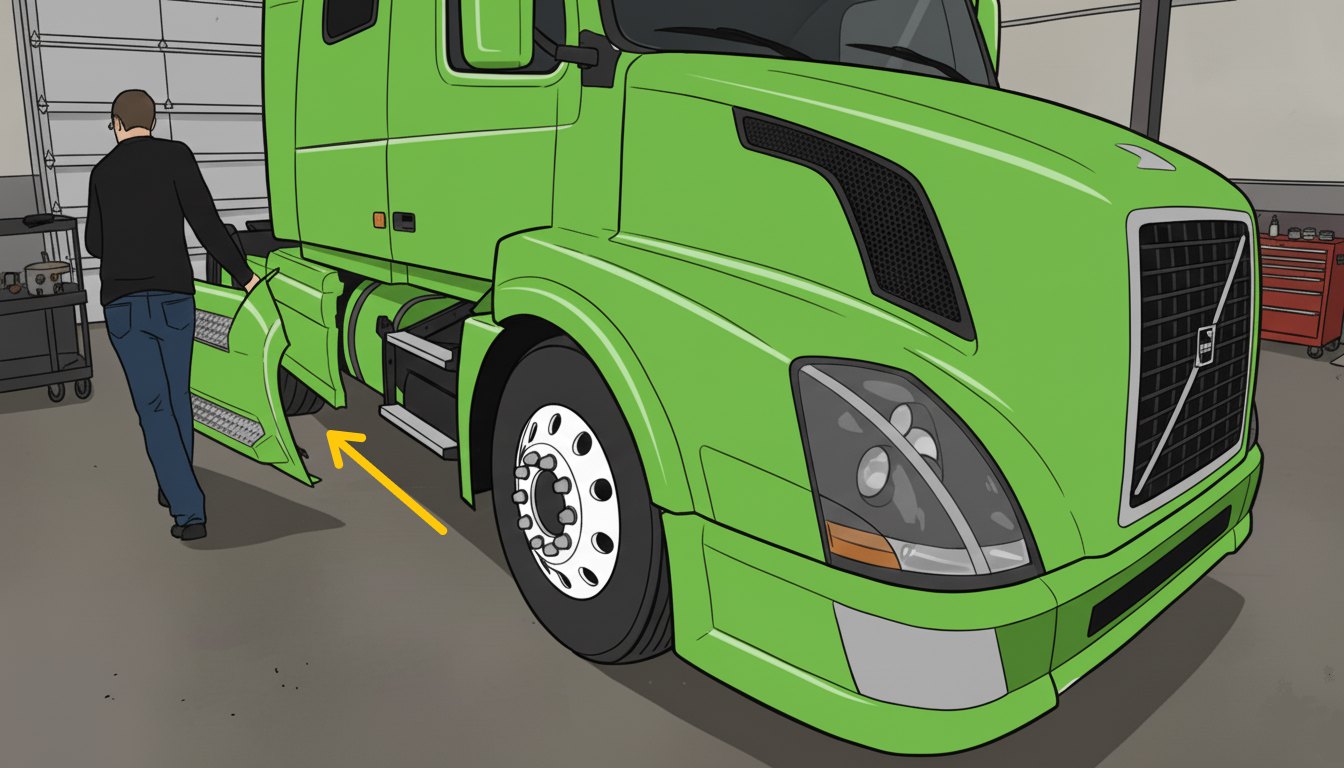 Figure 1
Remove the fairing support and its bolts to get access to the DPF. (See Figure 2)
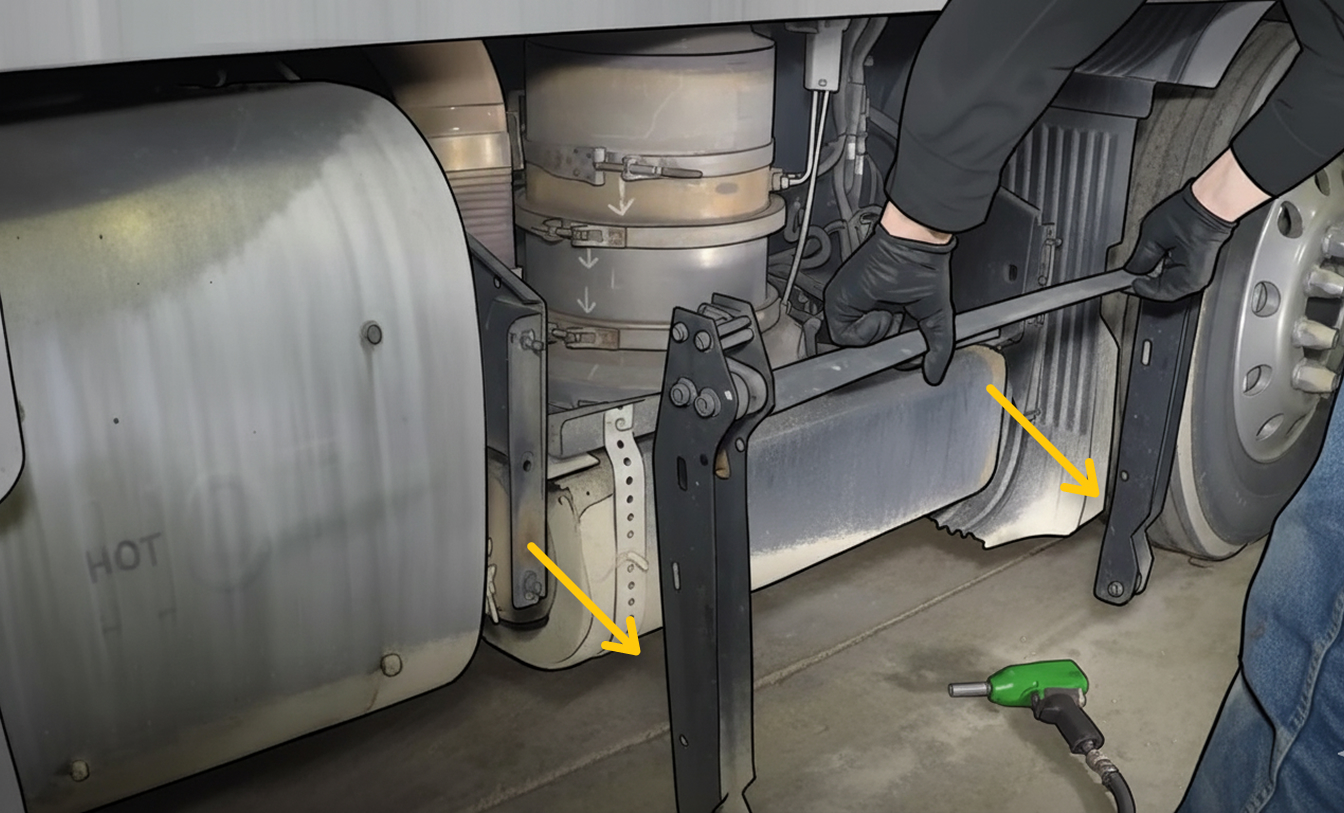 Figure 2
Remove the bolts from the crossmember support to detach it. (See Figure 3)
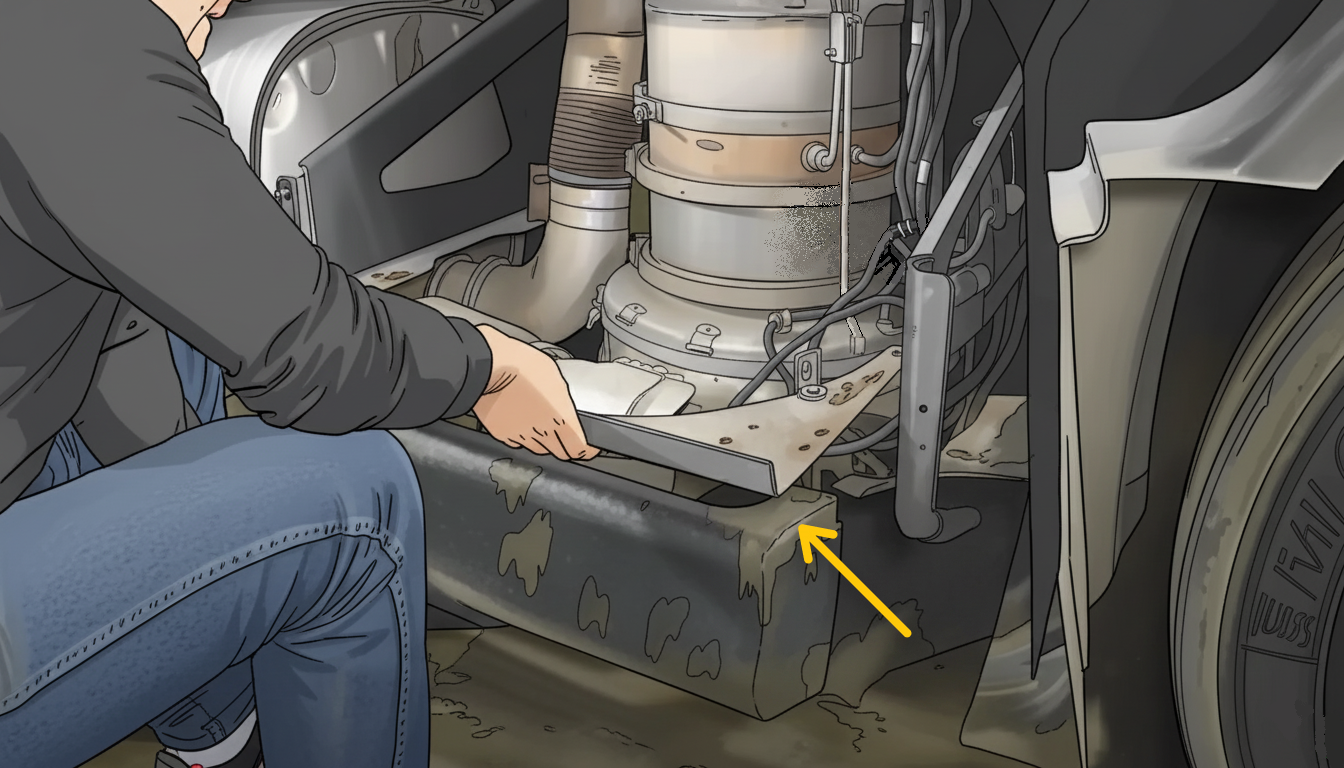 Figure 3
Remove the DEF Dosing valve and the NOx sensor. (See Figure 4)
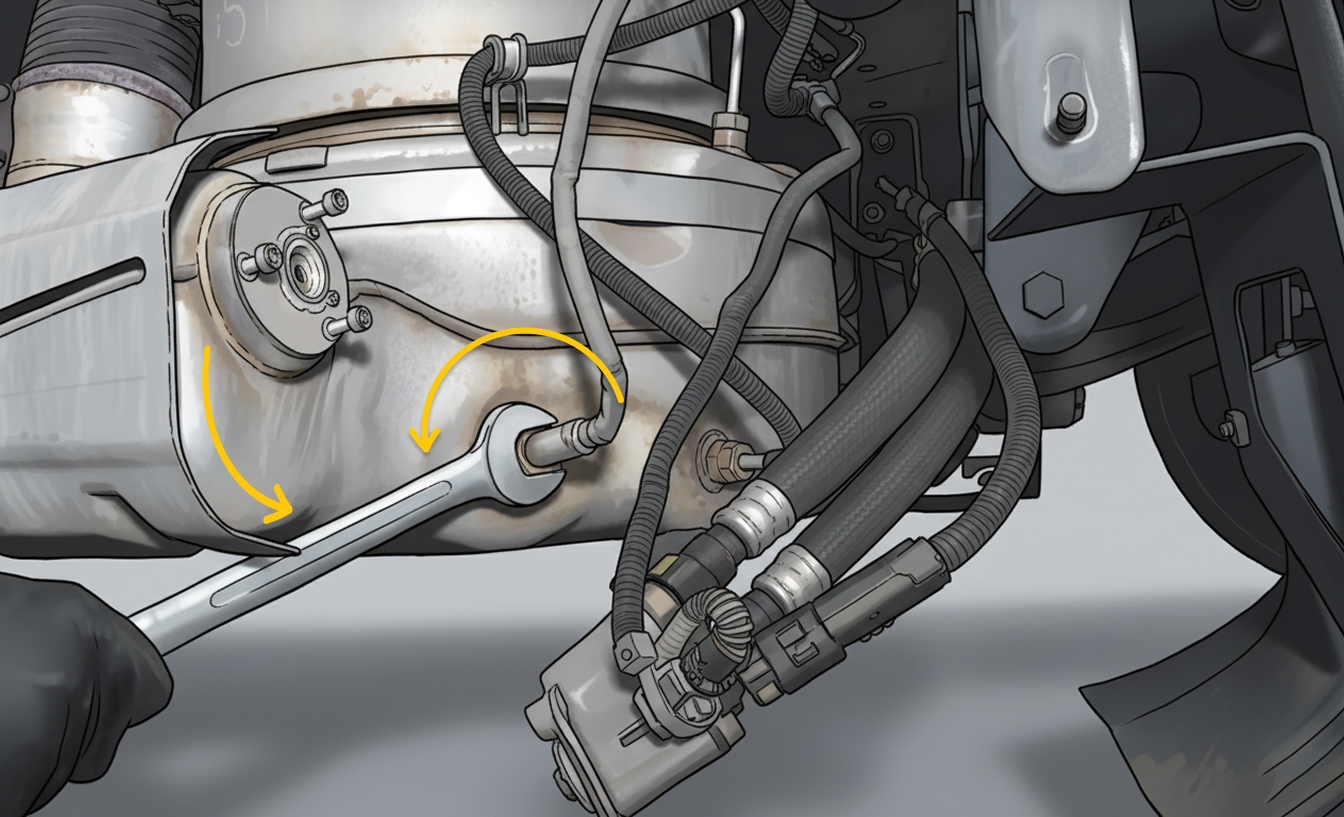 Figure 4
Unplug all the DPF sensor connectors and cut off all the zip ties. (See Figure 5)
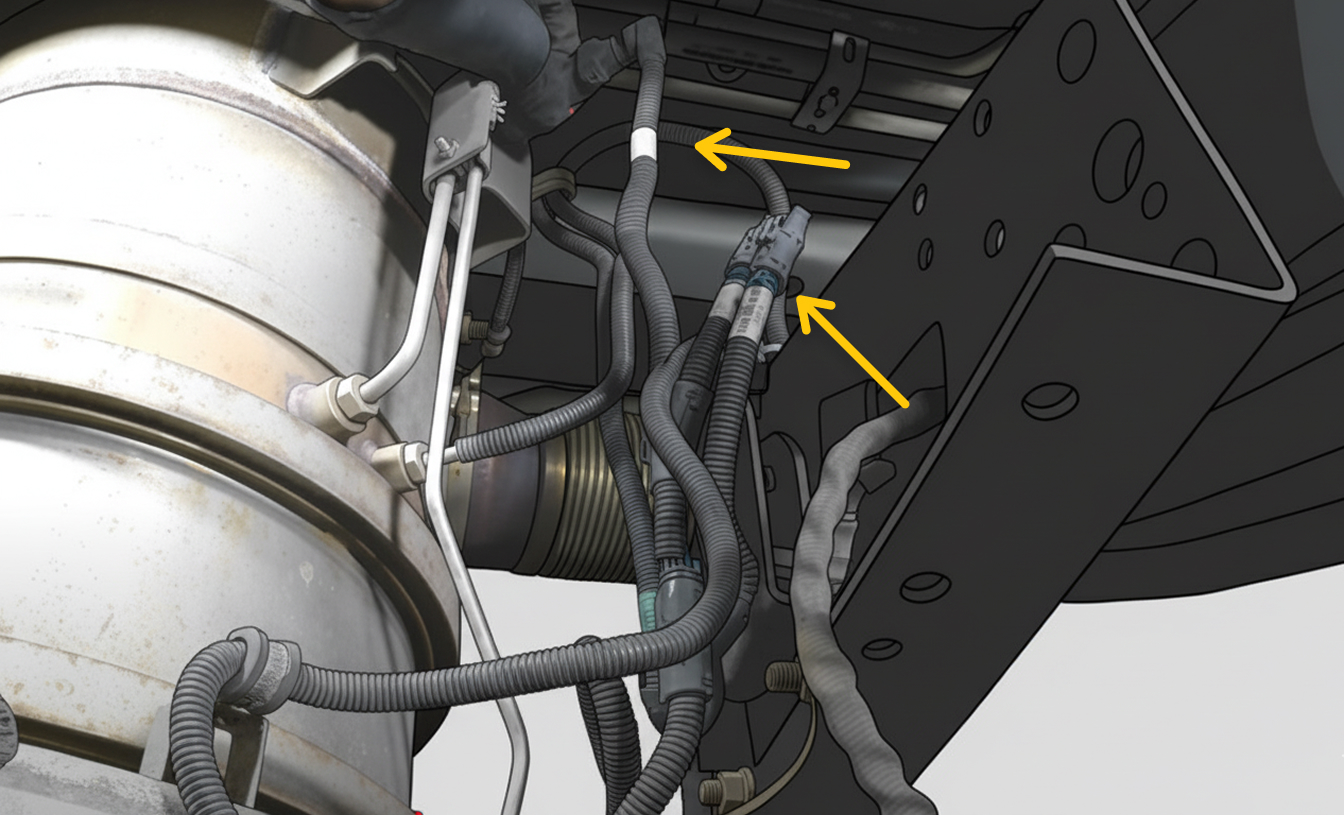 Figure 5
Remove both clamps holding the flex pipe between the DPF and SCR. (See Figure 6)
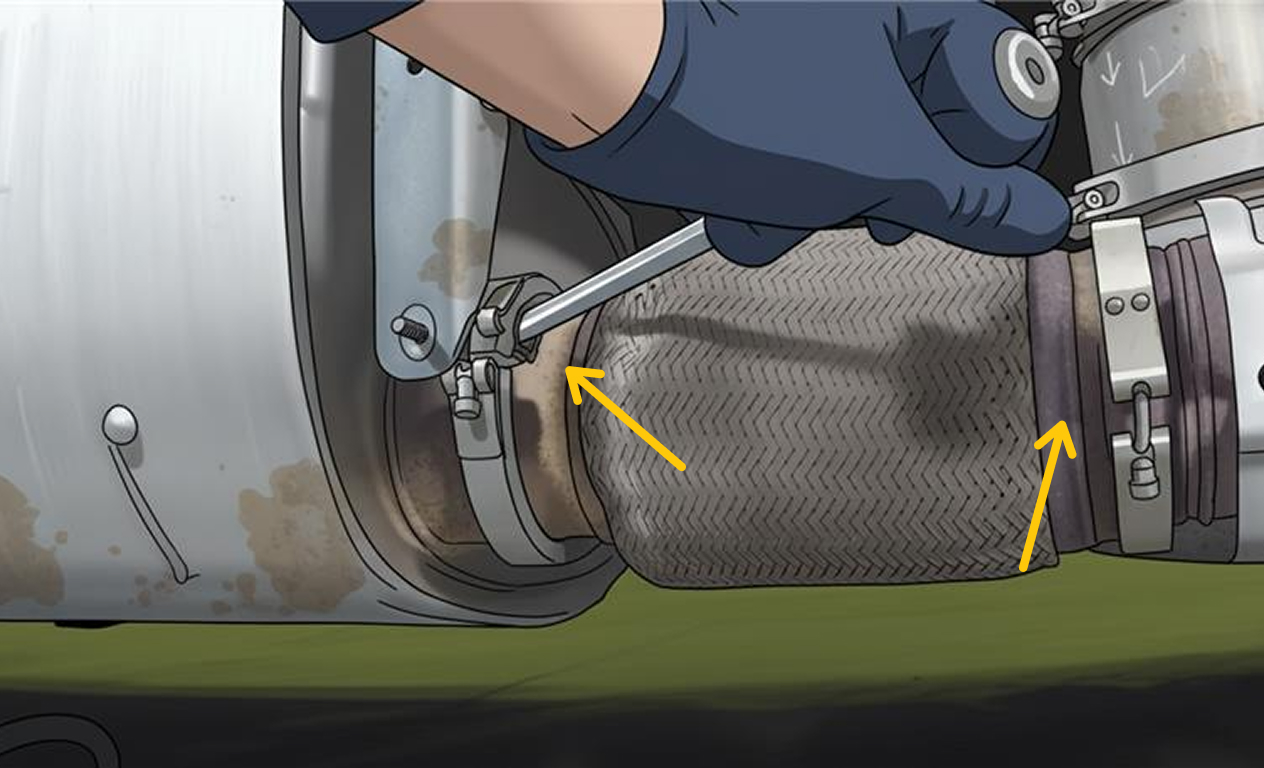 Figure 6
Then remove that flex pipe. (See Figure 7)
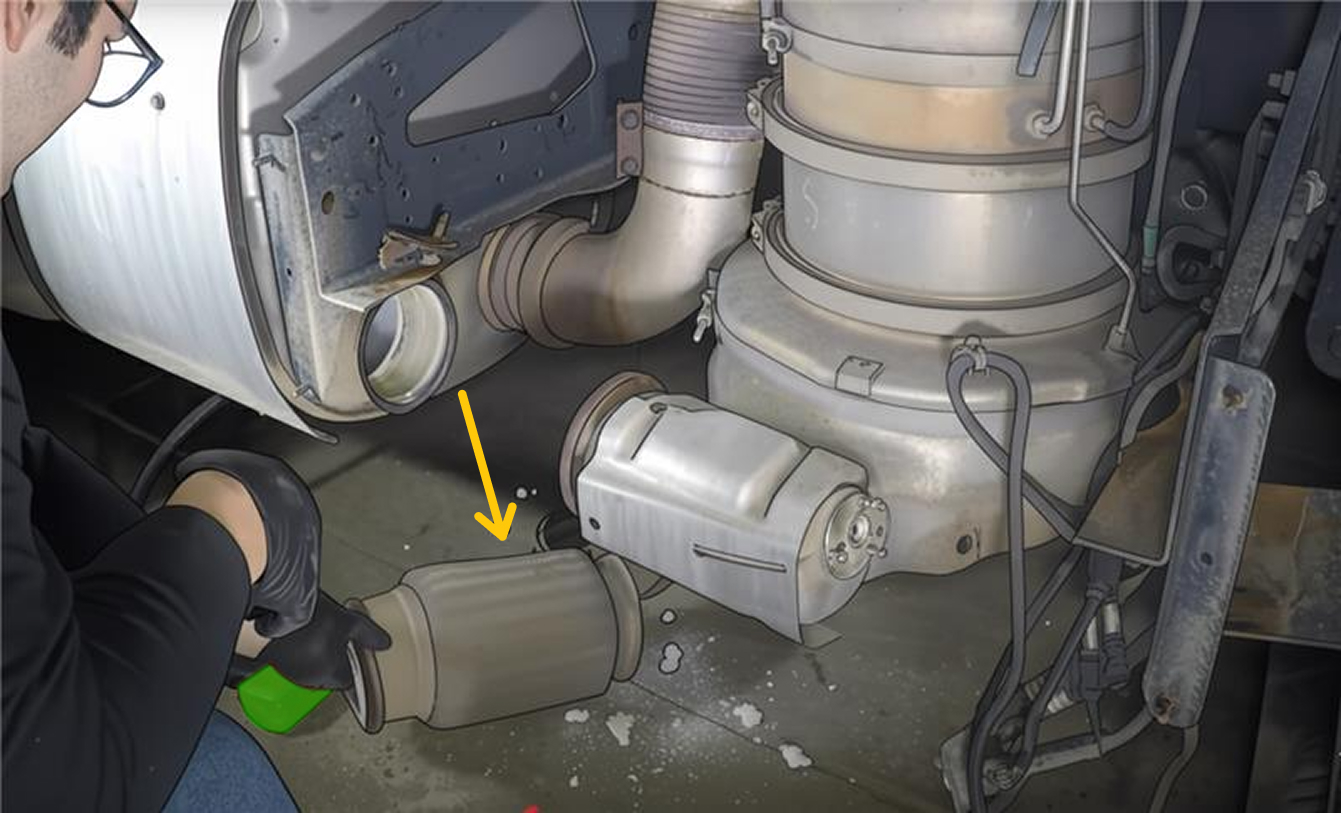 Figure 7
Remove the front inner fender liner. (See Figure 8)
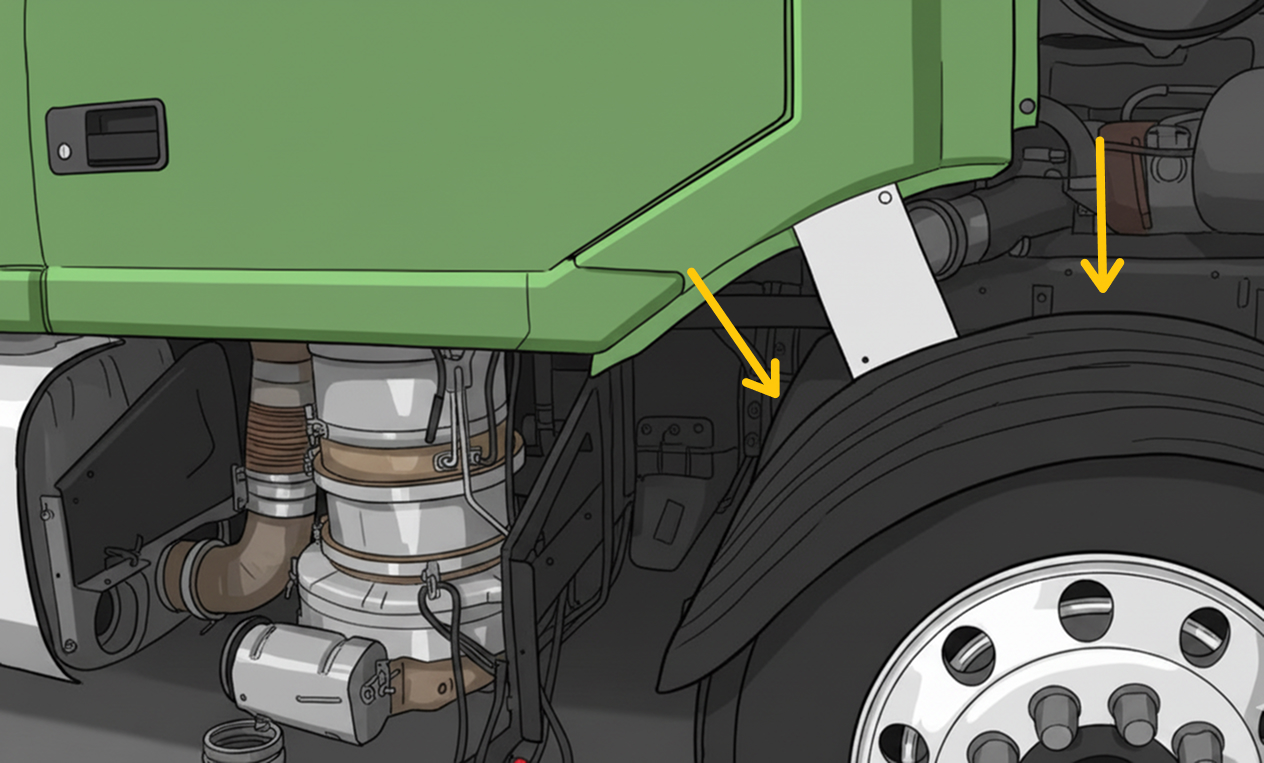 Figure 8
Remove the clamp holding the flex pipe to the DPF. (See Figure 9)
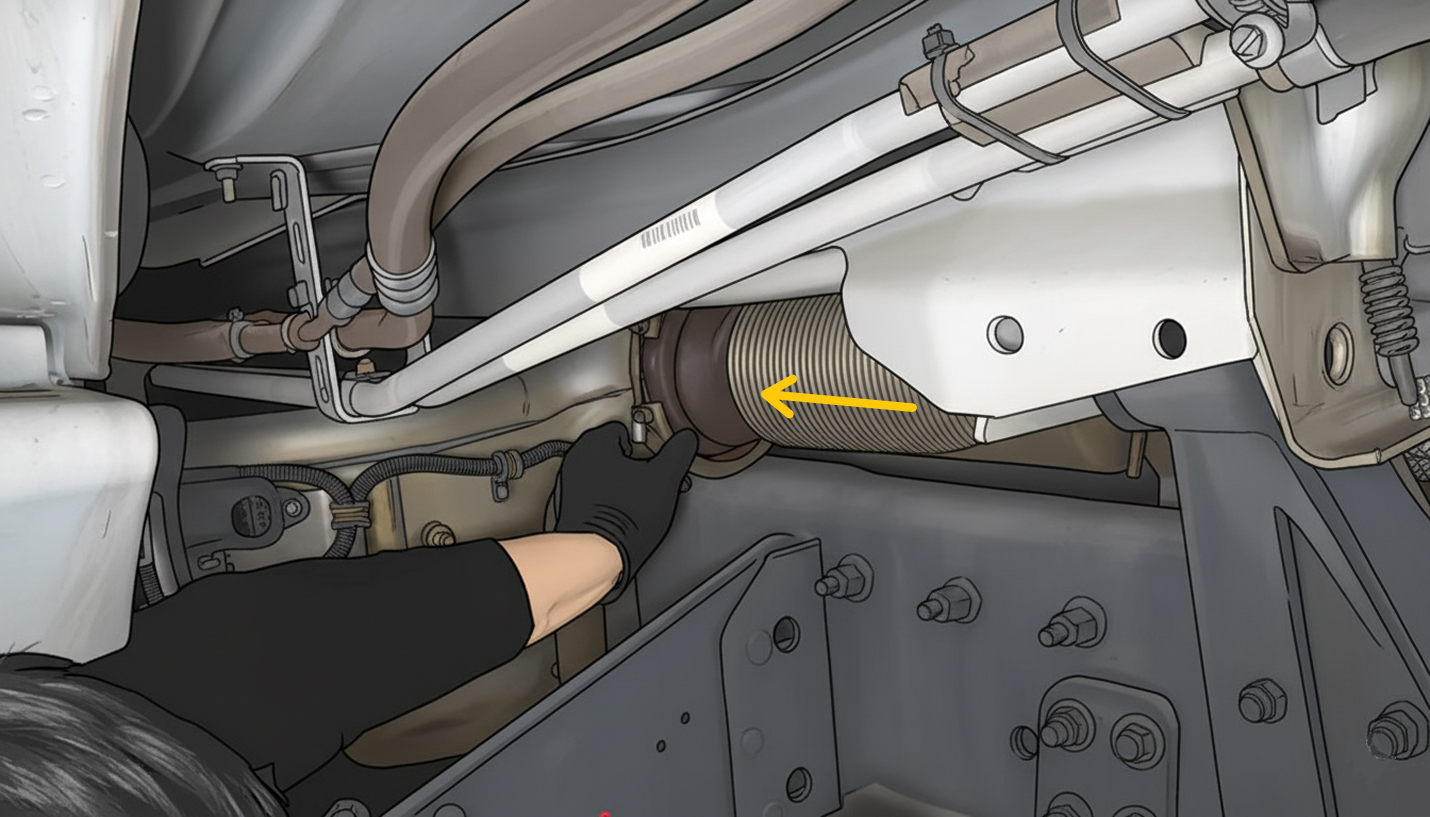 Figure 9
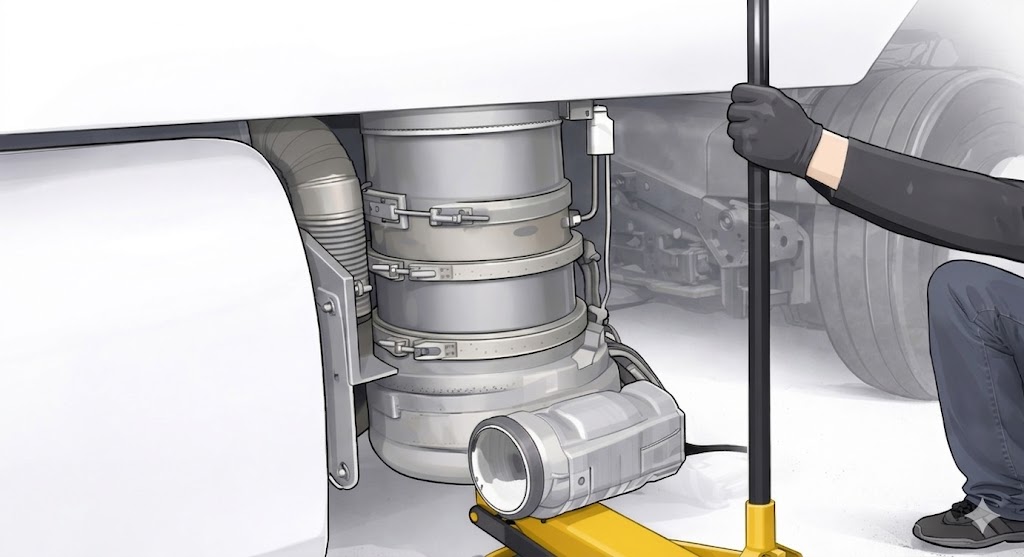
Then support the DPF using a trolley jack. (See Figure 10)
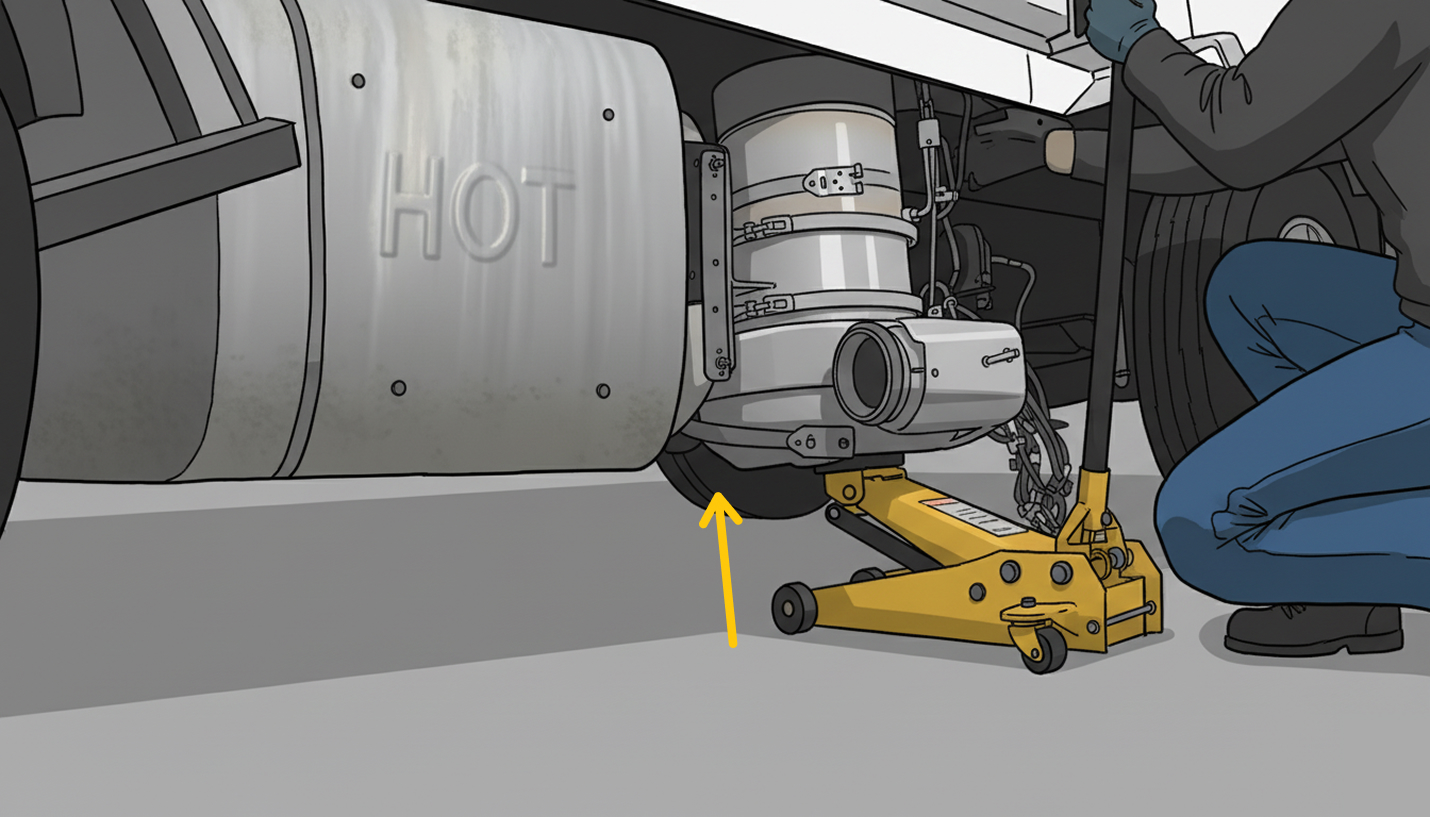 Figure 10
Remove the DPF supporting clamp and slide it out with the trolley jack. (See Figure 11)
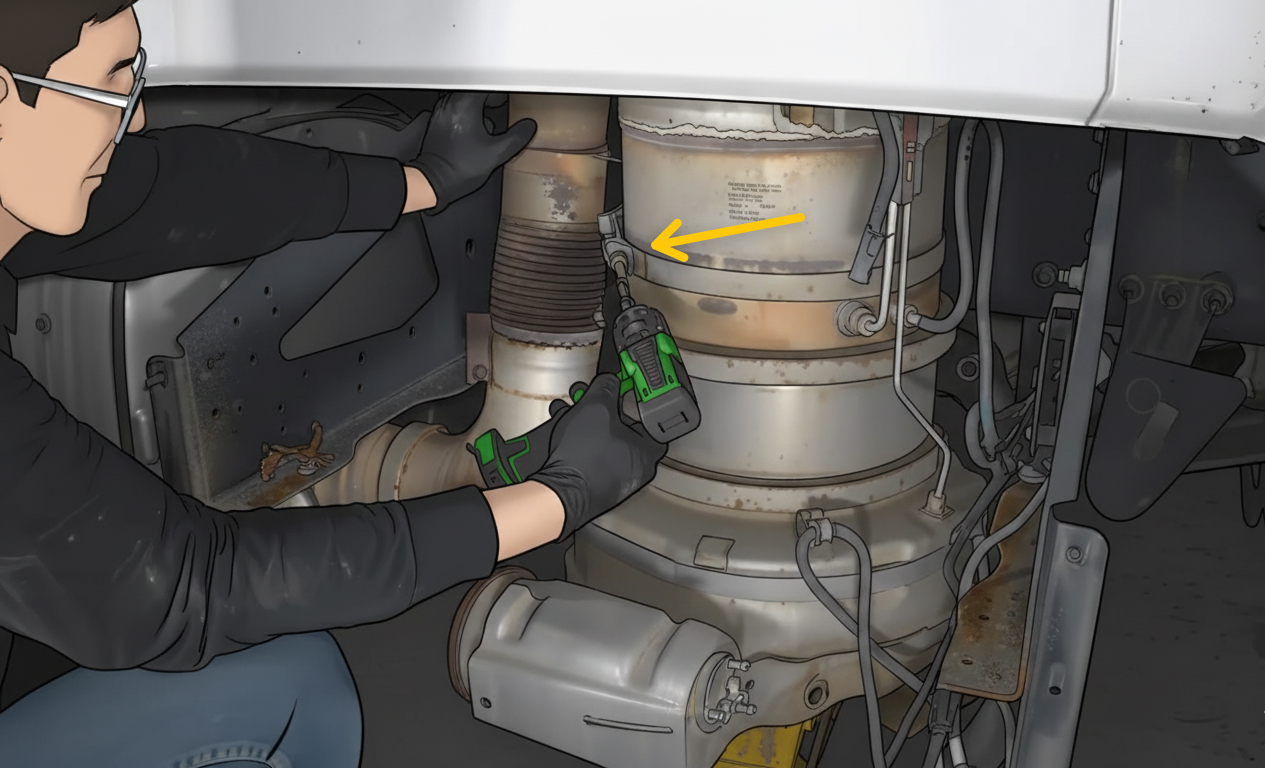 Figure 11
Remove the differential pressure tube. (See Figure 12)
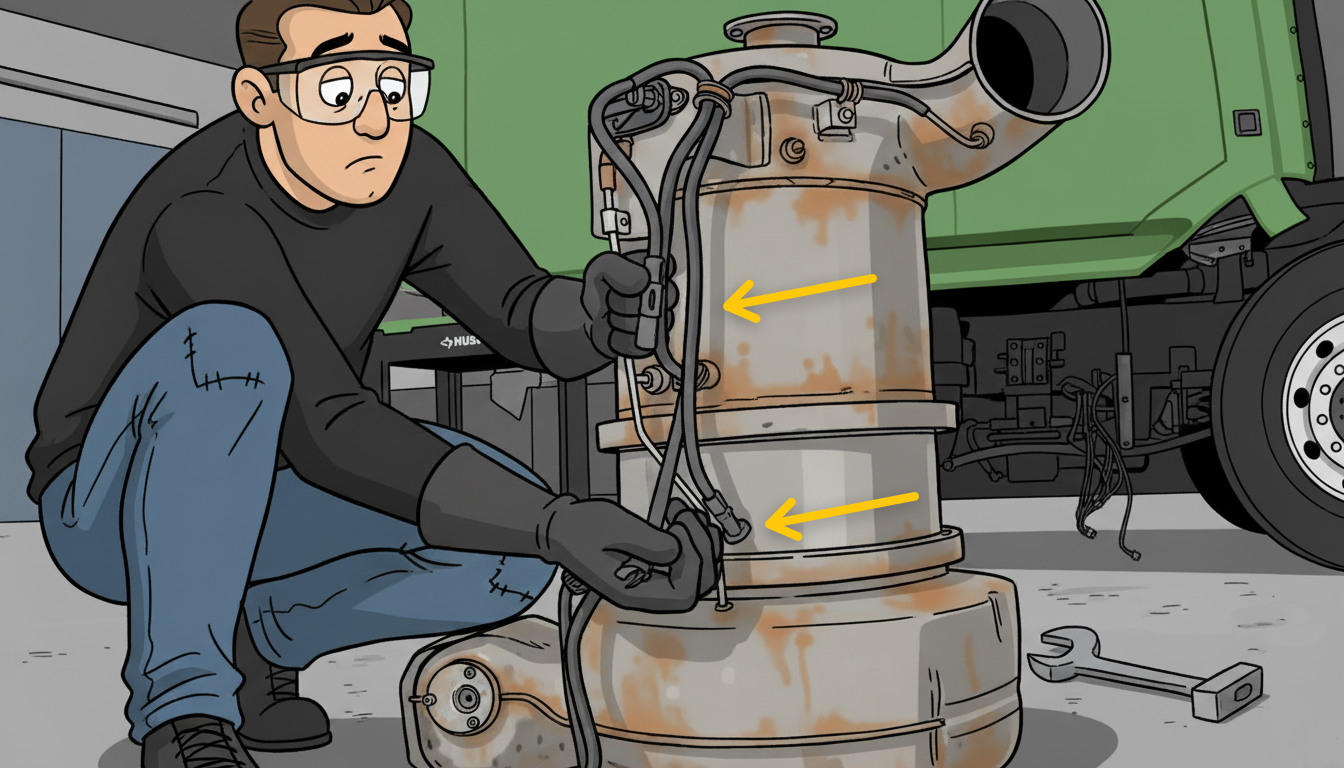 Figure 12
Remove the clamps holding the DPF together, then separate filters one by one. (See Figure 13 and 14)
Note: before separating the filters, do not forget to mark them. This will help when reassembling them.
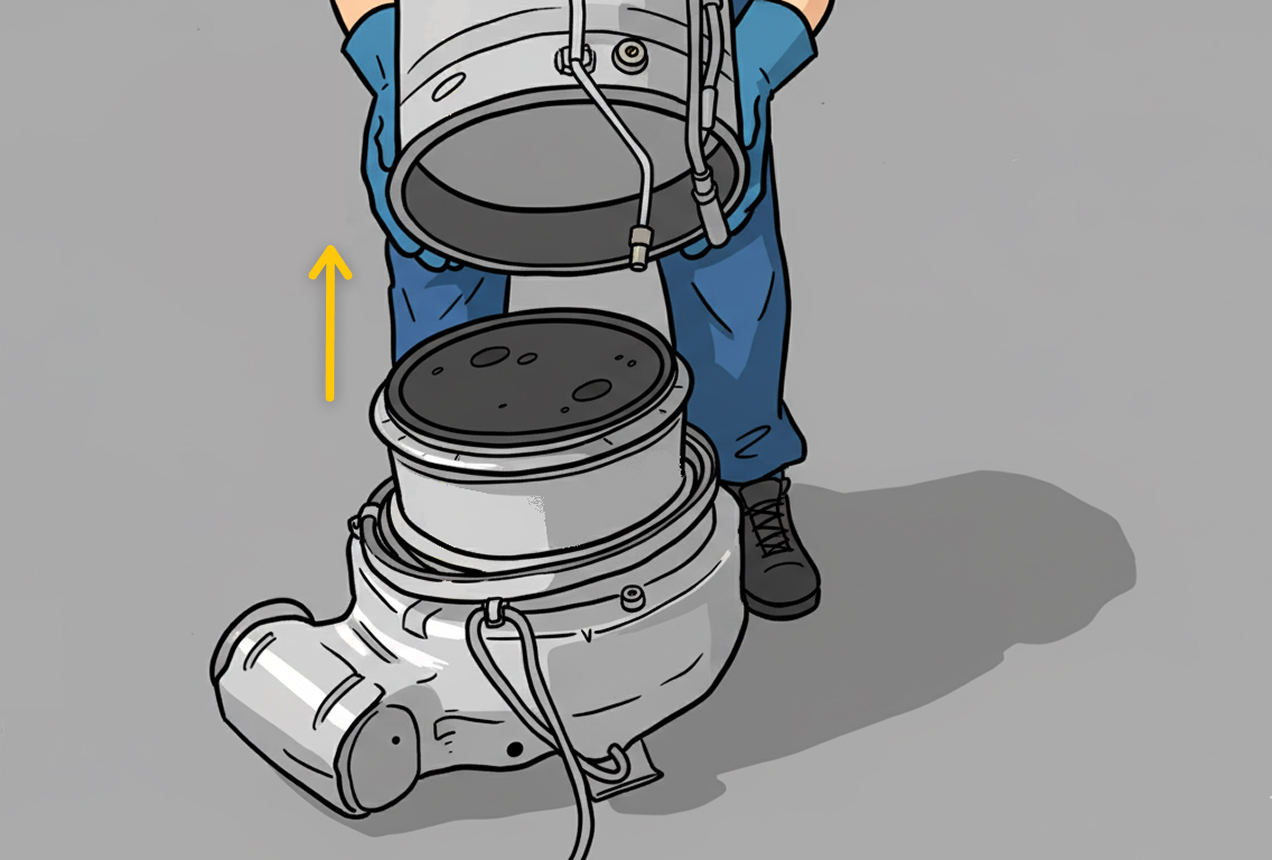 Figure 13
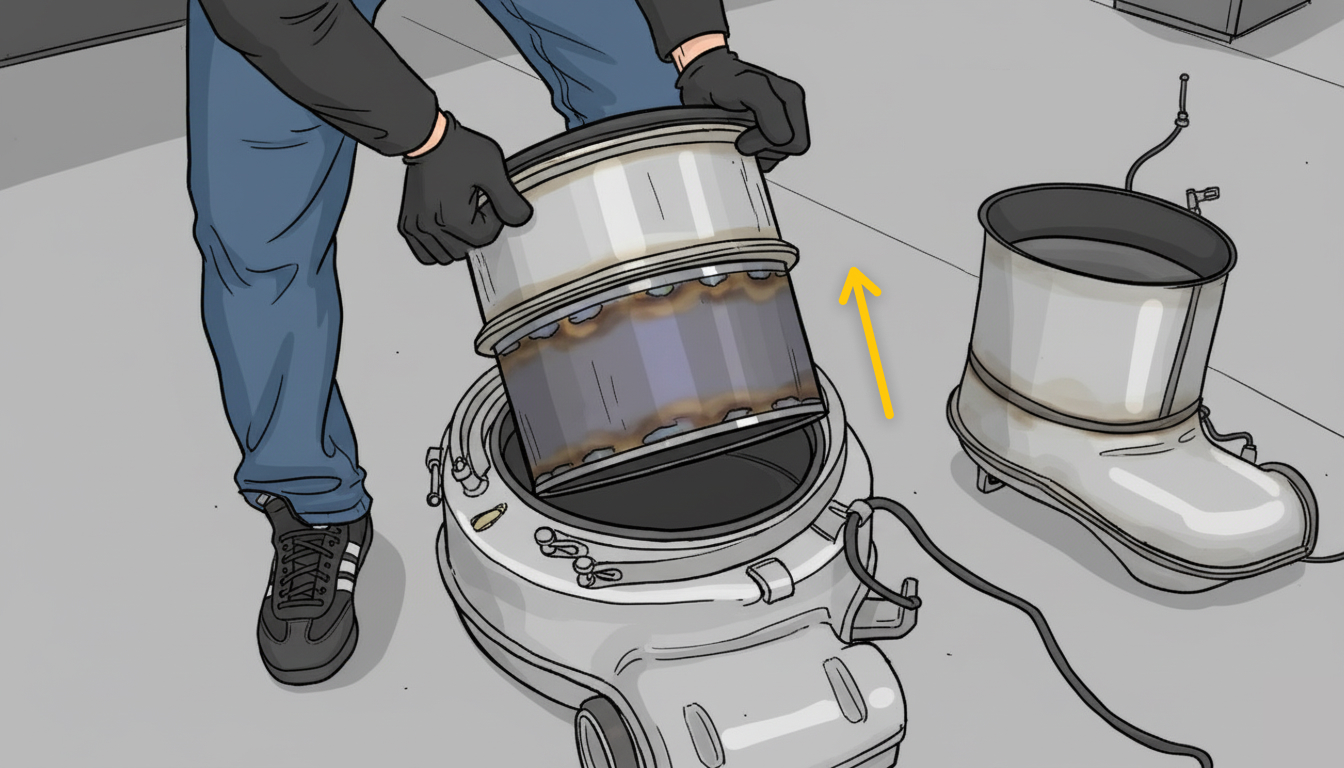 Figure 14
After servicing or replacing the diesel particulate filter (DPF), reassemble it by following the steps in reverse order. We hope this guide was helpful and answered all of your questions.